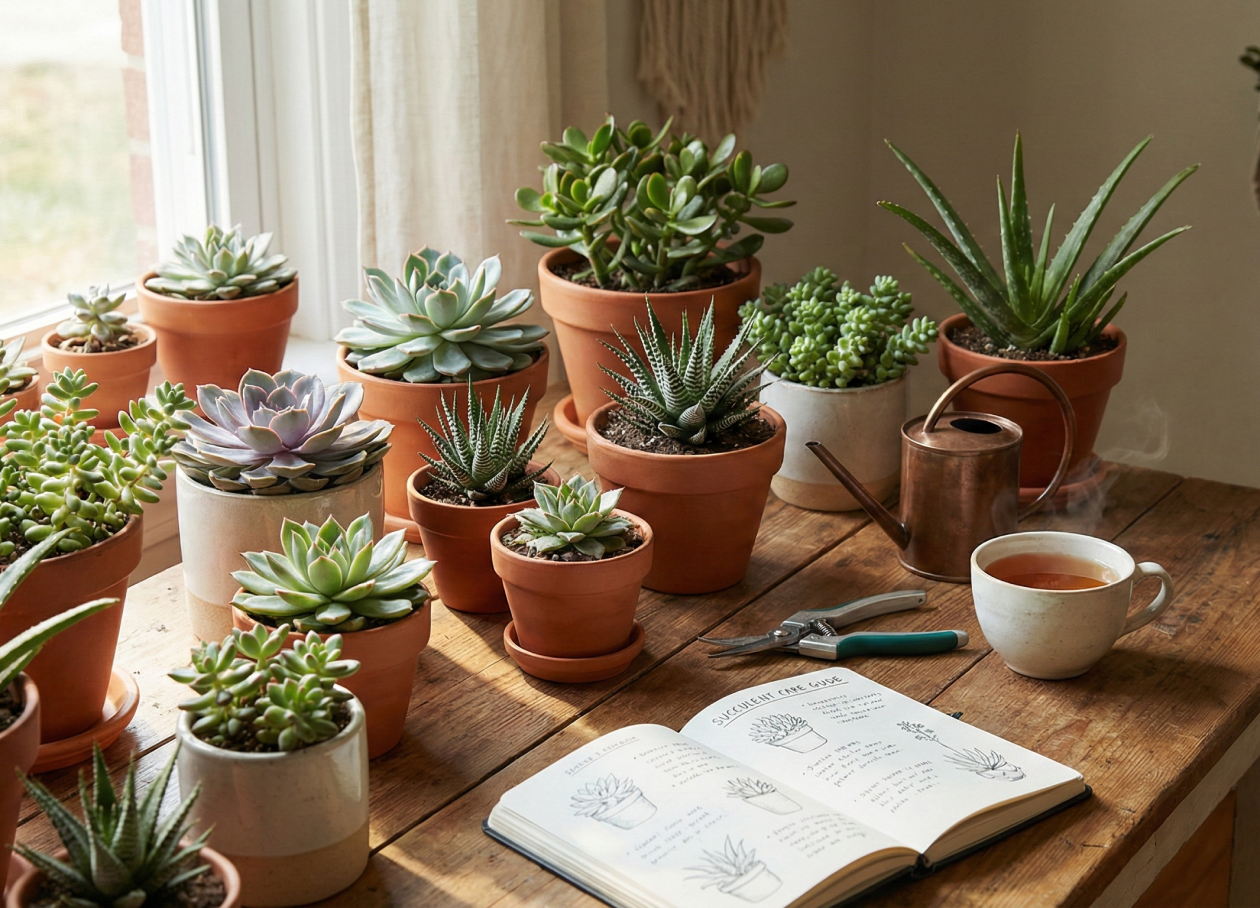
If you have ever owned a succulent, you know the addiction is real. One cute Echeveria succulents turns into three, and suddenly, you are eyeing every window sill in your house with a “potential garden” gaze. But what if I told you that you don’t always need to buy new plants to grow your collection?
Welcome to the magical world of succulent propagation—the art of making new plants from the ones you already love.
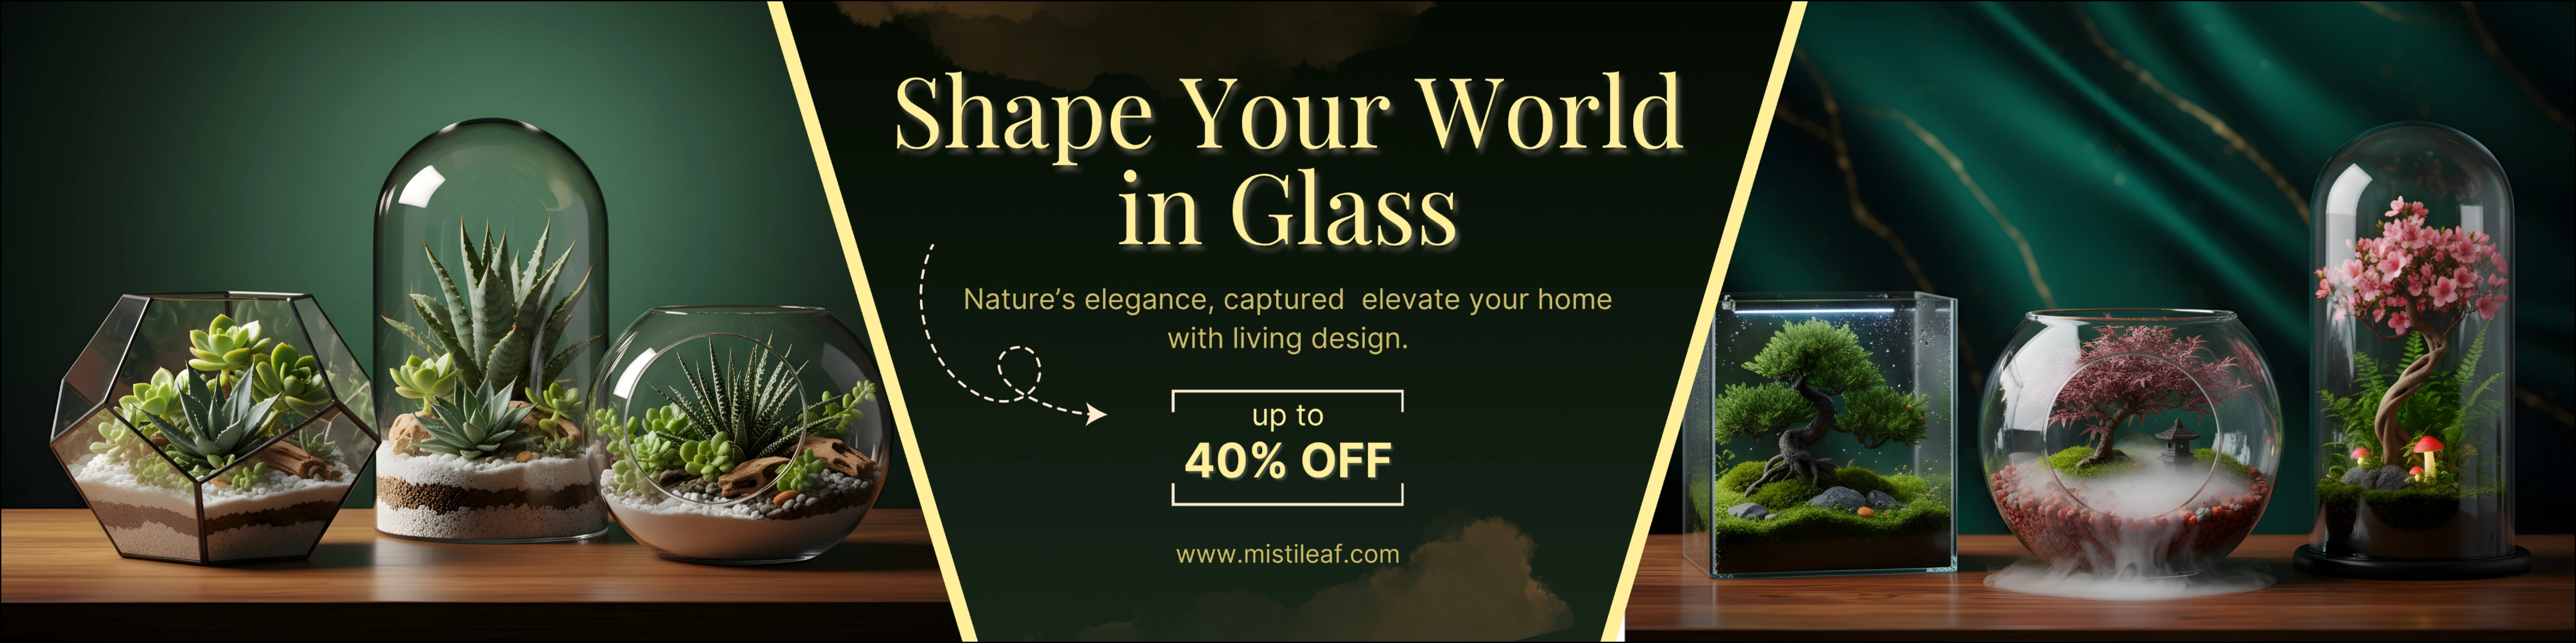
At Mistileaf, we believe that gardening should be a cycle of creation. Based right here in the heart of Kolkata, we design terrariums that tell a story. But today, we want to help you write the prequel: growing your own baby succulents that will eventually find their forever homes in our glass landscapes.
Whether you are a seasoned gardener in Salt Lake or a beginner in Ballygunge with your first pot, this guide is for you.
Why Propagate?
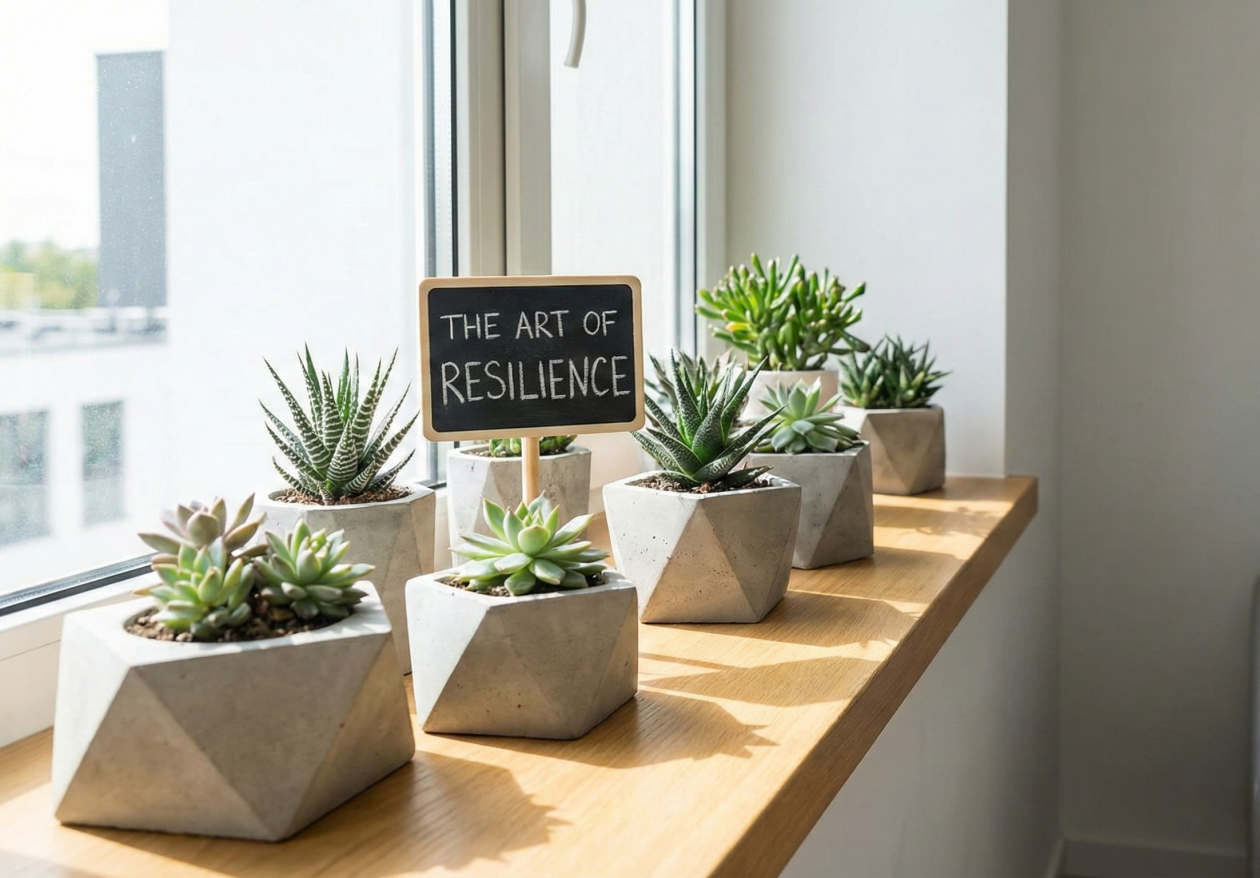
Succulents are survivors. In their native arid habitats, they evolved to reproduce easily to ensure their species survived harsh droughts. For us, this means “free plants!” Propagation is cost-effective, incredibly rewarding, and a fantastic way to rescue a plant that might be getting too “leggy” or overgrown.
The Three Golden Methods of Propagation
There are three main ways to multiply your succulents. The best method depends on the type of succulent you have.
1. Leaf Propagation (The “Magic Trick”)
This is the most common method for fleshy succulents like Echeveria and Sedum. It feels like magic to watch a tiny clone emerge from a single fallen leaf.
- Step 1: The Twist. Gently twist a healthy leaf off the main stem. It’s crucial to get a “clean break.” If a piece of the leaf is left on the stem, it likely won’t root.
- Step 2: The Callous. This is the secret step many beginners skip. Place your leaves on a dry paper towel in a shaded spot for 2–3 days. You want the raw end to dry out and form a “callous.” If you plant it wet, it will rot.
- Step 3: The Bedding. Lay the calloused leaves on top of well-draining succulent soil (do not bury them!).
- Step 4: The Wait. Mist the soil every few days—just enough to keep the top layer slightly damp. In a few weeks, you’ll see tiny pink roots and a miniature baby plant (a “pup”) emerging from the leaf end.
2. Stem Cuttings (The “Beheading”)
If your succulent has grown tall and stretched out (etiolated) because it didn’t get enough sun, this is the perfect fix.
- Step 1: The Cut. Using sterile, sharp scissors, cut the top of the succulent rosette off, leaving an inch or two of stem attached to the head.
- Step 2: Dry it Out. Just like the leaves, let the cutting dry in a shaded area for 2–4 days until the cut end callouses over.
- Step 3: Plant. Stick the calloused stem into fresh soil. Don’t water it immediately; give the roots a week to settle before your first watering.
3. Offsets (The “Natural Mom”)
Some plants, like Aloe Vera, Haworthia, and Sempervivum, do the work for you. They shoot out baby plants, often called “pups,” around their base.
- Step 1: Separate. Unpot the mother plant and gently tease the roots apart to separate the pup. Ensure the pup has some of its own roots attached.
- Step 2: Rehome. Plant the pup immediately in its own small pot.
Propagation in the Indian Climate: The Kolkata Factor
Gardening in India, and specifically in a humid city like Kolkata, comes with its own set of rules. While succulents love the Indian sun, they hate the Indian monsoon humidity.
- Humidity is the Enemy: When propagating in Kolkata, especially during the monsoon, moisture in the air can cause your cuttings to rot before they root. Keep your propagation trays in a well-ventilated area with good airflow.
- Avoid Direct Noon Sun: While mature succulents love sun, baby propagations are delicate. The harsh Indian afternoon sun will scorch them. bright, indirect light (like a north-facing balcony) is ideal.
- Soil Matters: standard garden soil (Mitti) is too heavy. Use a mix of coco peat, perlite, and coarse sand. At Mistileaf, we ensure all our terrariums use a custom-blended substrate specifically designed to combat root rot in humid climates.
From Nursery Tray to Mistileaf Terrarium
So, you’ve successfully propagated a dozen tiny succulents. Now what?
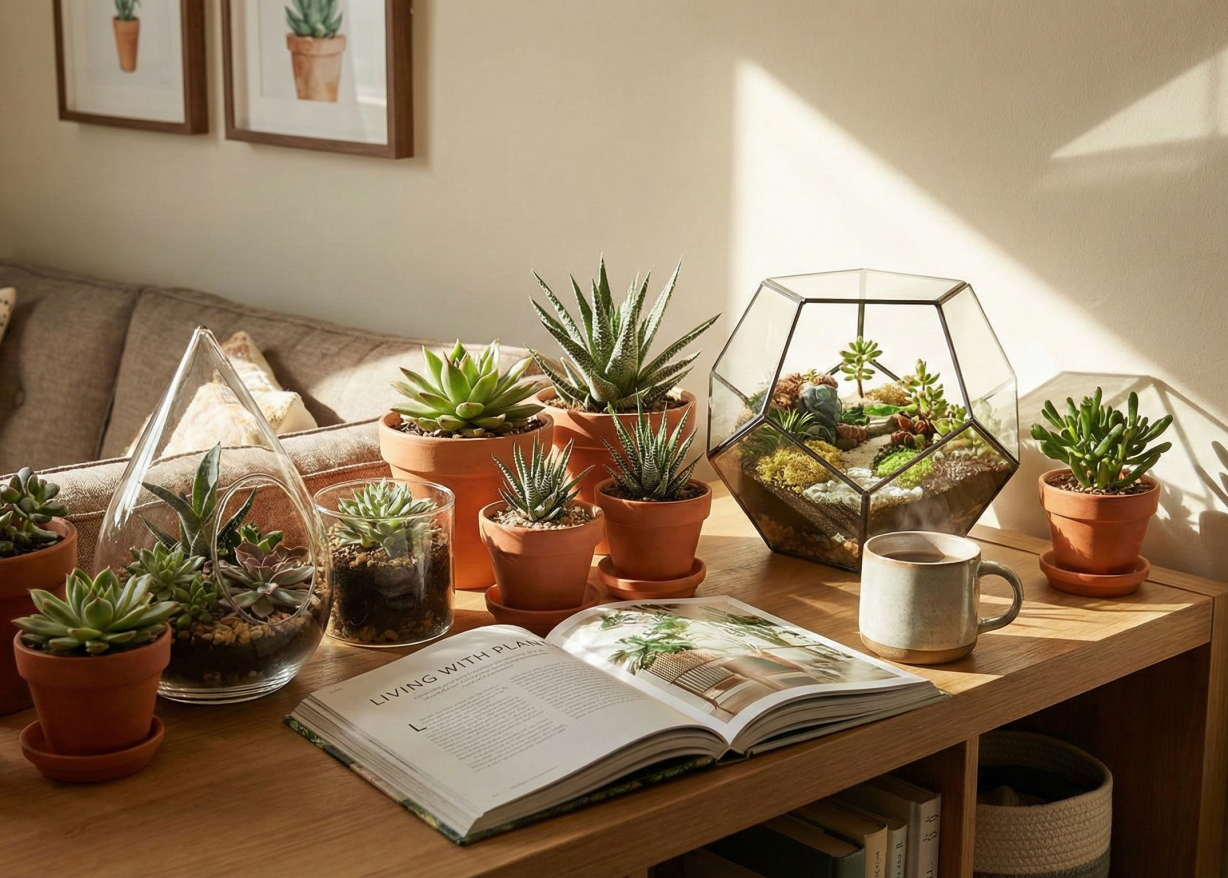
This is where the artistry begins. Tiny propagated succulents are the perfect size for terrariums. Because they are young, they adapt better to the micro-climate inside a glass container than mature plants do.
At Mistileaf, we specialize in creating these miniature ecosystems. Here is how you can integrate your new babies with our products:
- The Open Terrarium: For arid succulents (like the ones you propagated from leaves), our geometric open glass containers are ideal. They allow for maximum airflow, keeping those humidity-sensitive roots happy.
- The Landscape: Use your tiny new plants to create “depth” in a terrarium. Place larger rocks in the back and your small, propagated pups in the front to mimic a vast landscape.
- Gifting: There is nothing more personal than gifting a Mistileaf terrarium planted with succulents you grew yourself. It’s a gift of time, patience, and life.
Start Your Green Journey Today
Propagation teaches us patience. It reminds us that big things—beautiful, thriving gardens—start from small, fragile beginnings.
If you are ready to take your love for plants to the next level, or if you are looking for the perfect glass home for your new plant babies, check out our latest collection. We deliver handcrafted terrariums across India, bringing a slice of nature right to your desk.
Happy Planting!
If this guide inspired you to begin your succulent journey, take a look at our lovingly handcrafted terrariums at Mistileaf.
🌿 Browse our collection: https://mistileaf.com/products
Love plant inspiration and terrarium ideas?
🌿 Join us on Instagram: https://www.instagram.com/misti.leaf/